So here are some pieces of jewelry that I made using a couple of simple techniques. With minimal investment in supplies and a little time, you can do it too. I love making jewelry, and have played around with it for several years. So many times I don't see what I want in stores, so I make it myself instead.
Each piece below starts with a silver chain; some straight pins; beads (I use a lot of freshwater pearls in various shapes, but you can use whatever you like); and jump rings. All of these items can be purchased at Michael's crafts or a beading shop. If you really get into it there are some online places that sell supplies at wholesale prices too.
Silver Freshwater Pearl Necklace
Silver Freshwater Pearl Necklace with Ceramic Bird Pendant
NOW MAKE ONE YOURSELF!
Okay, so the same technique is used to make all of these pieces. I will show you how to attach one bead to a chain necklace. Once you can master this skill you can pretty much create all of the jewelry shown above, and then some! You can use the same skill to attach all sorts of beads in different sizes, colors and shapes. And remember, the bead shops have amazing selections-- you may get a little carried away because there are so many beautiful beads to choose from!
 |
STEP 2- PUT THE BEAD ON THE STRAIGHT PIN. Simply slide the bead over the straight pin and pull it all the way to the bottom until it stops.
|
 |
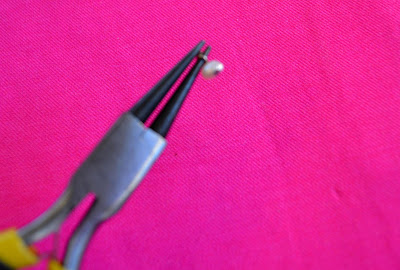
STEP 3: TRIM THE STRAIGHT PIN. Trim the straight pin so that there is about 3/4 of an inch of pin remaining.
|
STEP 6: CLOSE THE JUMP RING. Using the flat pliers, close the jump ring shut and you're finished! That was one bead. Just keep adding where you want with the beads you love until you have the look you want!


No comments:
Post a Comment